This module outlines the process we use to create clinical case pages for this site.
To create a clinical case page, we combine a redacted version of the patients actual history (with all personal info removed), with a variety of images from the radiographic, clinical, operative, and pathological material we have. We organize the material in our computer database, prepare the images for publication on the web, and upload them using our content management system.
The tasks required are as follows:
1) Store the raw image data on the server. (\\our server\...the tumor image folder...\pts folder name) Gather the "raw" image resources from CDs, synapse and other sources and place in the patient folder on the server. (a folder may need to be created, with required folder name format (lastname_firstname_dxabbreviation_location abbreviation). Place images in appropriate subfolders if needed for clarity.
2) Prepare copies of the images for web upload - 600 by 600 pixels is optimal - edit any personal information out, optimize focus, clarity and color as needed. Save in pt folder. Usually, this is done by using synapse or the syngo image viewer to display the raw images and using screen grap pro to create full size screen captures. Re-name and store the screen captures in an appropriate subfolder in the patients image folder.
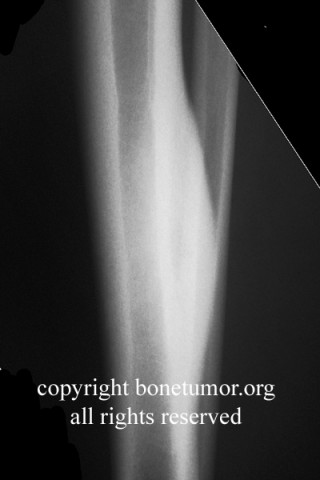
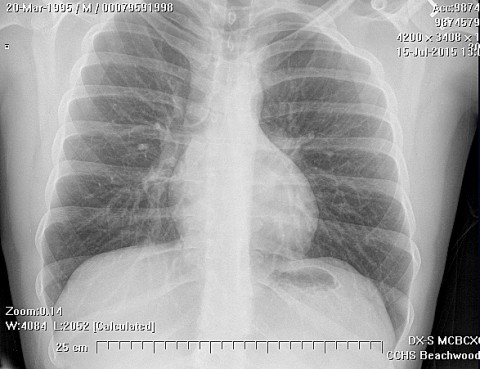
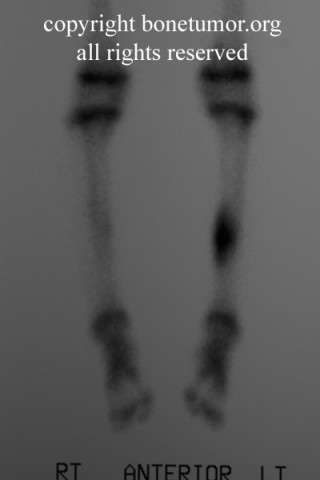
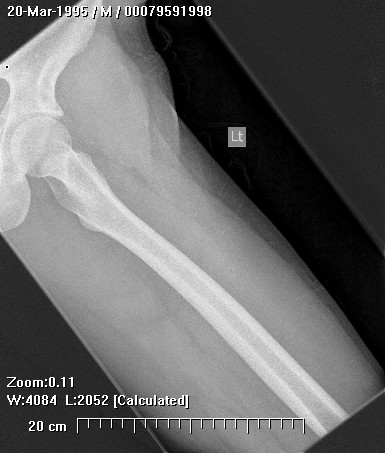
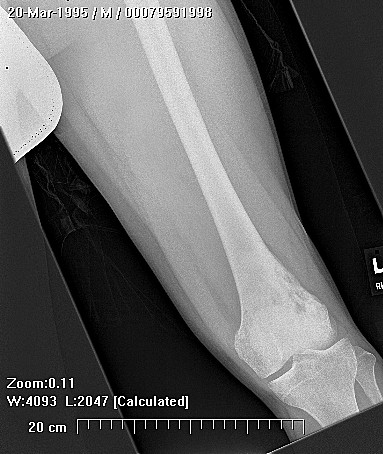
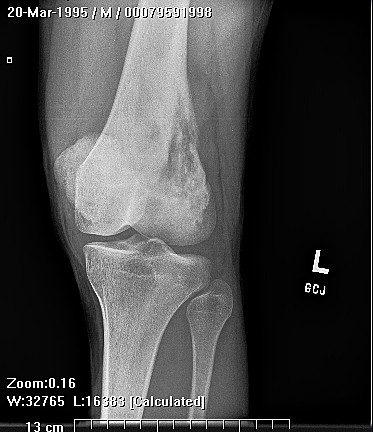
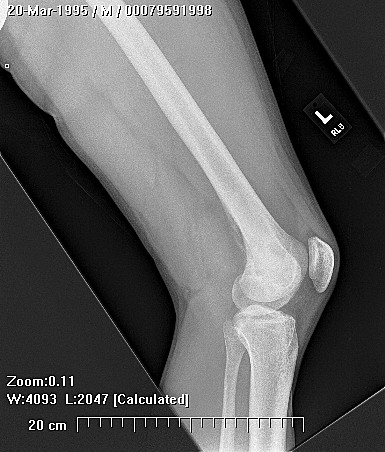
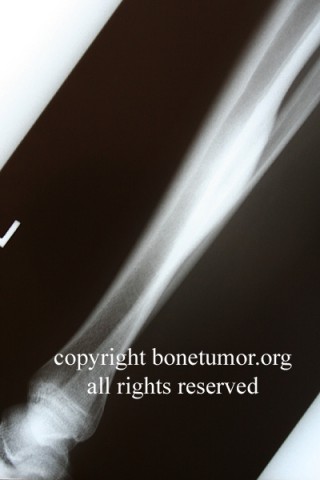
2a) A few thoughts on how to choose the images for inclusion in the site: Each case normally requires 2 xrays (AP/lat), as well as zoomed in xrays if the findings need to be displayed at a larger size for clarity, plus several MRI, CT, Bone scan, clinical photos, and pathology images as indicated to give the viewer a complete understanding of the diagnostic material available. Carefully prepare and choose the optimal views of each scan or xray series. Look through all the images available for the case and choose the best, most representative images. Make sure the images are clear, well centered, free of extraneous information and contain no personal or identifying information. About 3-6 images are needed per case, but some may require more. Screen caps are usually OK, but must be maximal size in order to contain enough pixels. If necessary, use an image editing program to open and edit the images. Re-size the images to 600 x 600 pixels (approx), insert a watermark, and adjust levels, contrast, and sharpness, etc.
3) Once the images are prepared, log in to bonetumor.org and create a clinical case page. Add the title (be brief) and the other case textual information. For guidelines on what to include, review several existing clinical case pages to see the style and format used. The clinical history is taken from the actual patient history, redacted to be brief but comprehensive, and all personal material is removed. We create a "case number" using the following format"
The case number of all the associated images must be identical
YYYYMMDDAB where
YYYY = year the case was uploaded
MM = month the case was uploaded
DD = day of the month the case was uploaded
AB = a two letter designator that can be randomly assigned by the person uploading the case
4) Still on bonetumor.org, upload and tag the tumor images created in step 2 for the case. (menu>>content management>>create content>>tumorimages). Tag each image with the case title, case number, and other image tags. Upload each image, and check to see that the process was successful for each. The system will prompt you for missing information.
5) View>edit the completed clinical case page, and set the "image reference" field equal to the title of the clinical case.
6) View the "clinic cases" menu and make sure the new case appears correctly, with a thumbnail image, and that the amount and content of the text is appropriate.
7) Finally, view the clinical case and carefully check all the entries for grammar, syntax, spelling errors and other issues.